 Introduction:
Adobe DNG Converter Mod Apk is a free tool by Adobe that helps photographers manage their photos. It lets you convert raw image files from many cameras into a universal format called DNG (Digital Negative). This can be helpful because DNG files are often more widely compatible with different photo editing software than the camera’s original raw format. Using the DNG Converter can help ensure you can access and edit your photos in the future, even if the software or camera technology changes.
In the world of photography, keeping your digital files organized can be a challenge. There are many different file formats used by cameras and editing software. Adobe DNG Converter is a free tool that helps photographers address this issue. It allows you to convert raw image files from various cameras into a universal format called DNG (Digital Negative). This can streamline your workflow and make it easier to manage your photos in the long run. DNG Converter is especially useful if you work with photos from multiple cameras or use different editing software programs.
Key Features:
- Universal Compatibility: DNG Converter supports raw files from a wide range of cameras, making it easier to work with photos from different devices.
- Non-Destructive Conversion: The conversion process does not alter the original raw file. This means you can always go back to the original if needed.
- Preserves Image Quality: DNG Converter converts raw files while preserving the image quality and data captured by the camera sensor.
- Simplifies Workflow: By using a universal DNG format, you can streamline your editing workflow and avoid compatibility issues between different photo editing software programs.
Pros:
- Universal Compatibility: DNG is a widely supported format by many photo editing programs. This means you’ll have more flexibility in choosing how to edit your photos in the future, even if you switch software.
- Long-Term Archiving: DNG is designed to be a future-proof format, so there’s a lower risk of your photos becoming incompatible with editing software as technology evolves.
- Non-Destructive Conversion: The conversion process doesn’t alter your original raw files. You can always go back to the originals if needed.
- Streamlined Workflow: Using a consistent DNG format for all your raw files can simplify your editing workflow and organization.
Cons:
- Potential Loss of Proprietary Information: Some camera manufacturers embed proprietary information in their raw files. Converting to DNG might exclude some of this data, although it typically doesn’t affect the core image quality.
- Extra Processing Step: Converting your raw files adds an extra step to your workflow, especially if you’re dealing with a large number of images.
- Not Always Necessary: If you’re already happy with your current workflow and editing software, converting to DNG might not be essential.
FAQS
Q:What is the benefit of converting my raw files to DNG format?
Ans: There are a few benefits to converting your raw files to DNG format. One benefit is that DNG is a widely supported format, so you can be more confident that you’ll be able to open and edit your photos in the future, even with different software programs. DNG conversion can also help streamline your workflow by making all your raw files a consistent format.
Q: Can I convert multiple raw files at once?
Ans: Yes, it supports batch processing, allowing you to convert multiple raw files simultaneously.
Requirements:
- Operating System: macOS 10.13 (or above)
- Hard Disk Space: 4 GB of available hard-disk space
How to Use?
-
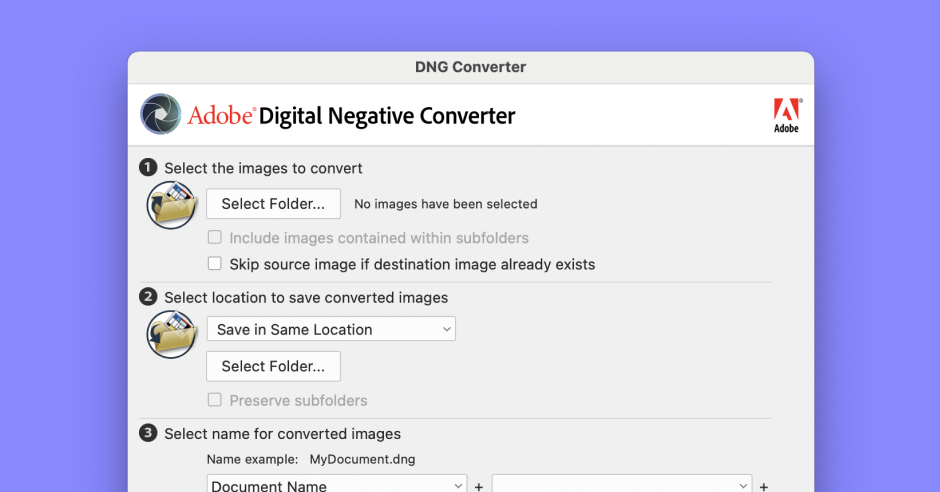
Launch the program: After installing DNG Converter, find it in your applications and launch it.
-
Select your images: You can either drag and drop a folder of images you want to convert or click the “Select Folder” button and choose the folder containing your raw image files.
-
Choose a destination folder (optional): By default, DNG Converter will save the converted files in the same location as your originals. However, you can click the “Select Folder” button next to “Destination” to choose a different location if you prefer.
-
Set your preferences (optional): You can click the “Change Preferences” button to adjust some settings, such as the compatibility with older versions of Adobe Camera Raw. However, for most users, the default settings are fine.
-
Convert your images: Once you’re happy with your selections and settings, click the “Convert” button. DNG Converter will convert your raw image files to DNG format.
How to Install?
1. Go to the official Adobe DNG Converter download page:
2. Choose your operating system (Windows or Mac) and download the installer.
- Make sure you download the installer from the official Adobe website to avoid any security risks.
3. Once the download is complete, run the installer and follow the on-screen instructions.
The installation process is straightforward and shouldn’t take too long.
Here are some additional things to keep in mind:
- System Requirements: Make sure your computer meets the minimum system requirements to run Adobe DNG Converter. You can find this information on the download page.
- Free Tool: DNG Converter is a free tool from Adobe.
Leave a Reply